Create a Wind Generation Profile with Weather Data
This example is valid for AC(O)PF scenarios. Related how-to are connect weather data and collect wind data.
1. Generate a profile from weather data
Before creating generation profile(s), make sure that the WIND object has been created in advance in SAInt. Define the properties for each generator using their property editor. The mandatory input properties to retrieve data from the data provider are the PMAXDEF, Latitude, Longitude, HubHeight, and the the WindTurbPowCurve. Go to the network tab and to access the browser and select among the wind turbine power curve available at C:\Documents\encoord\SAInt-v3\DataImport\WindTurbinePowerCurve. After importing, access the property editor of the WIND object, and using the ▼ select the WTPC. In addition, define the HubHeight property.

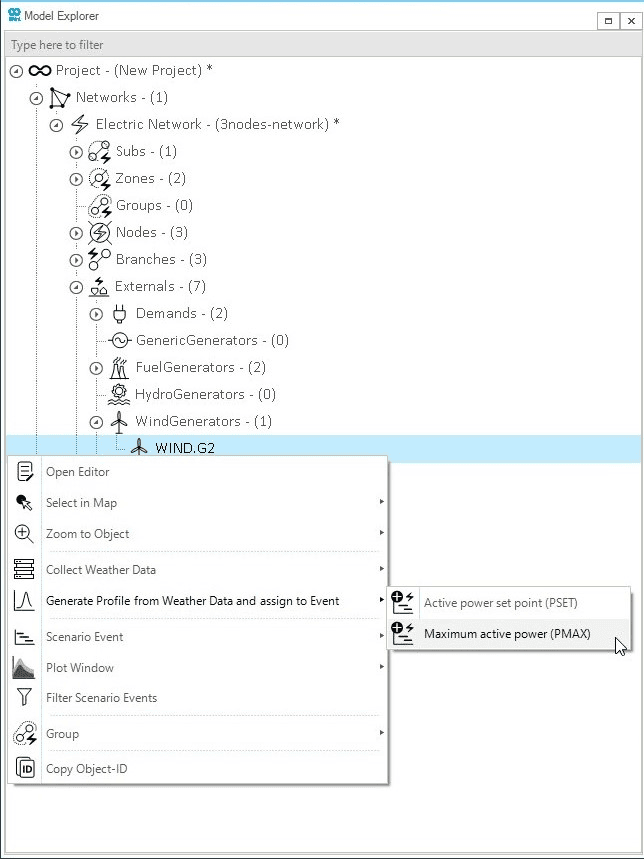
Access the model explorer and right-click on the WIND object, and as shown in Figure 1, go to . This operation is possible in scenario mode, while in network mode, only Collect Weather Data option is available.
|
The WTPC is a |
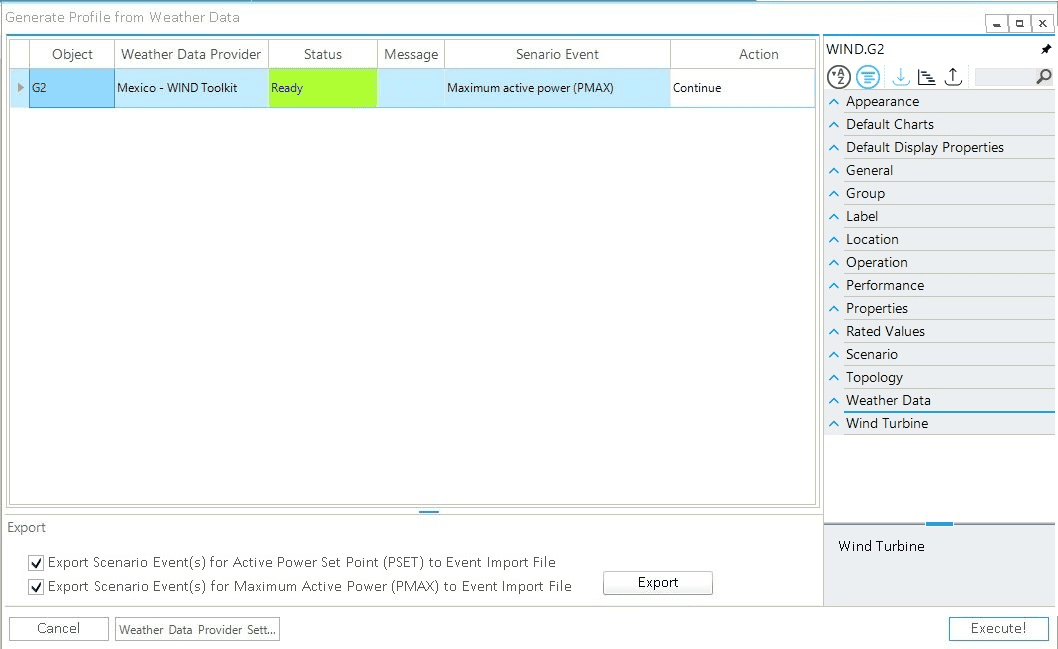
A new window will automatically pop up in SAInt. This window allows the tracking of the download process as well as the status of the data. If some mandatory parameters are not defined, the status will be set to Invalid, and the message box will indicate the missing or invalid parameters for each object. Press Execute! to start the download process, as shown in Figure 2. Once the download process is complete, the status will be changed from Ready to Processed and the action box will indicate Done. Profiles can be exported by checking the boxes in the export section.

|
If an error is stating that "SystemCapacityAC can not be ∞", please check the value of the property |
2. Results of a wind generation profile
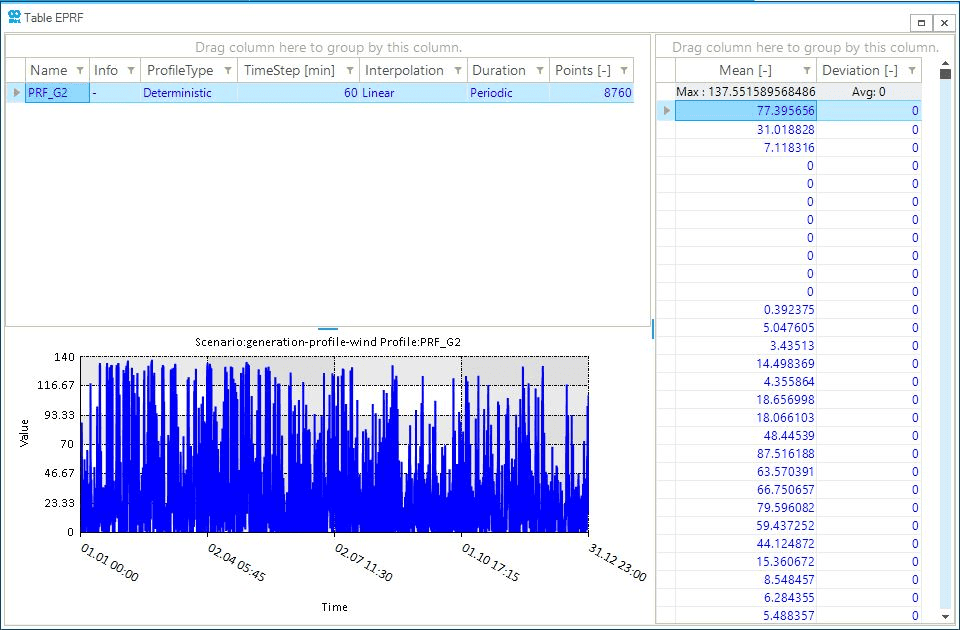
The generation profile will be displayed in the profile table (EPRF) and the events assigned to the profiles are available in the event (EEVT) table. An example of a wind profile created using weather data is shown in Figure 3. Wind generation profiles calculated using the data provider have always a one year length.
