Add Externals to a Node
This guide shows how to add an external to an existing node in the map window and model explorer. The same method apply to all energy networks (electric, gas, thermal, etc.). However, the list of possible external types will vary based on the type of network. Steps are described using a gas network.The property editor can be used to reassign the external to another existing node.
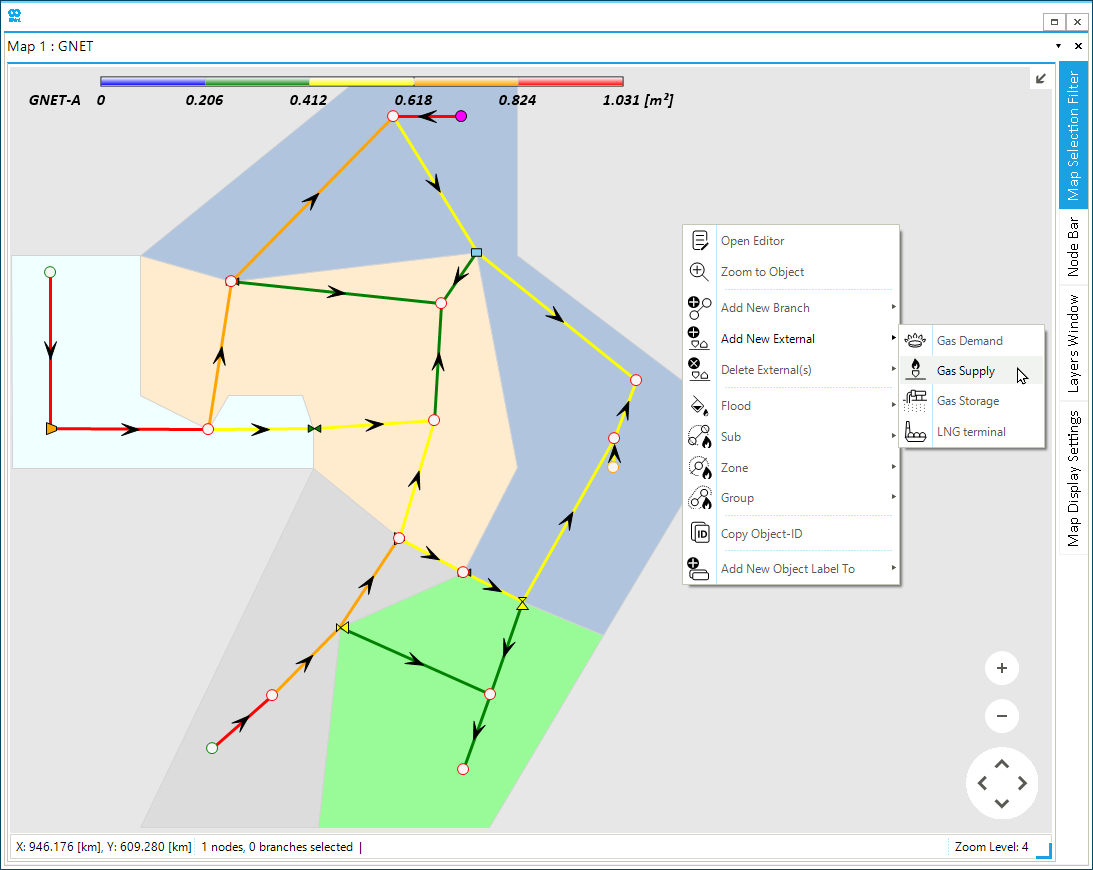
1. Create an external in the map window
Left-click to select the node. Once selected, the node is highlighted with a magenta color. Right-click on top of the node to access the context menu, select Add New External to display the list of externals which can be assigned to the selected node as shown in Figure 1.
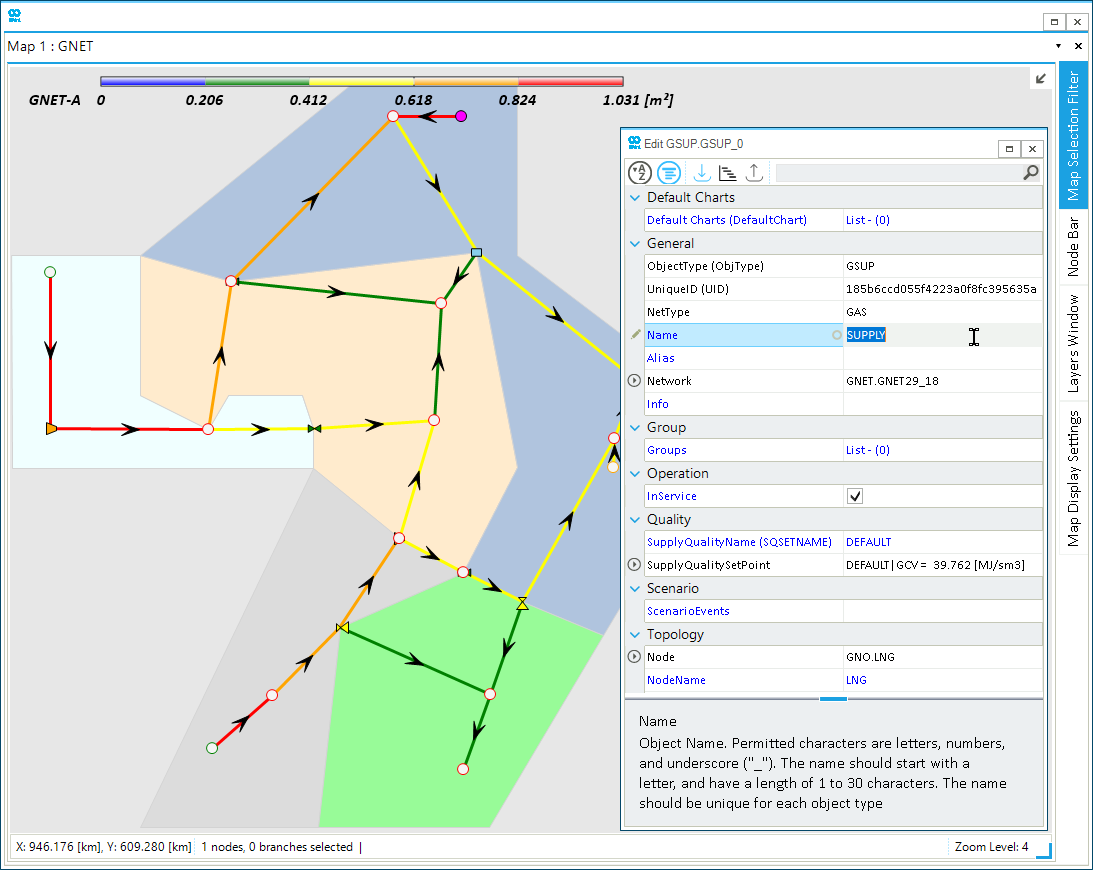
In this example, a GSUP was added. Once the external is created, the property editor automatically opens. In this window the properties of the external object can be defined as shown in Figure 2.
|
Object properties shown in blue can be edited. |
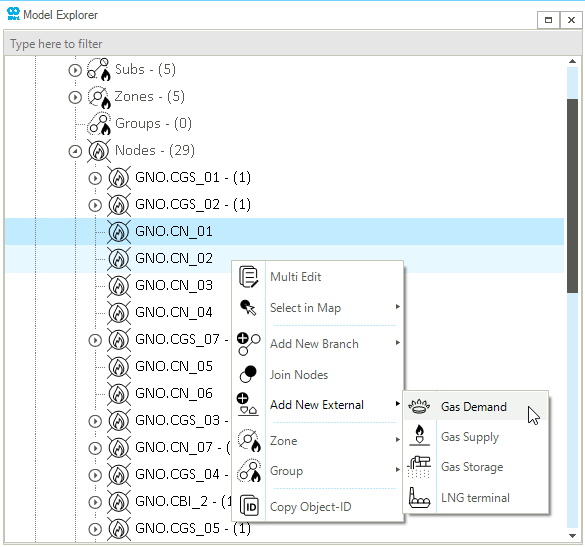
2. Create an external in the model explorer
Left-click on any node object (in this example on GNO.CN_01, or GNO.CN_02) from the Nodes object group to select a node. Once selected, the node is highlighted. Right-click on top of the selected object to access the context menu, select Add New External to display the list of externals which can be assigned to the node.
By selecting multiple nodes (remember to use Ctrl or Shift to select multiple objects), the same external type can be added simultaneously to all the selected nodes as shown in Figure 3. In this example, two GDEM were added.