Create a Scenario in SAInt-GUI
This guide shows how to create a scenario in SAInt GUI. A scenario defines a case study performed on a network. SAInt allows modelling steady-state, quasi-dynamic, and dynamic scenarios as simulation or optimization. Each scenario applies to a specific network type. This guide explains how to create an electric quasi-dynamic ACPF scenario, but the same procedure applies to all the scenario types.
1. Set scenario type and name
Each scenario has different settings. A scenario can be created only if a network is loaded. Under the scenario tab, select the as shown in Figure 1.

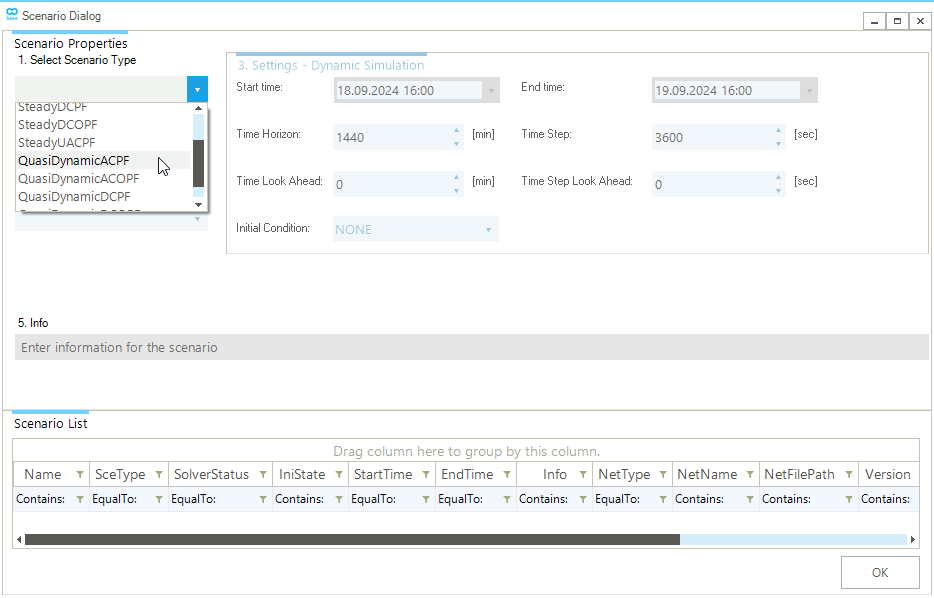
Once the New Electric Network Scenario is selected, a new window (scenario dialog) will be automatically displayed. Choose the scenario type (in this example, quasi-dynamic ACPF) as shown in Figure 2.
2. Edit scenario settings
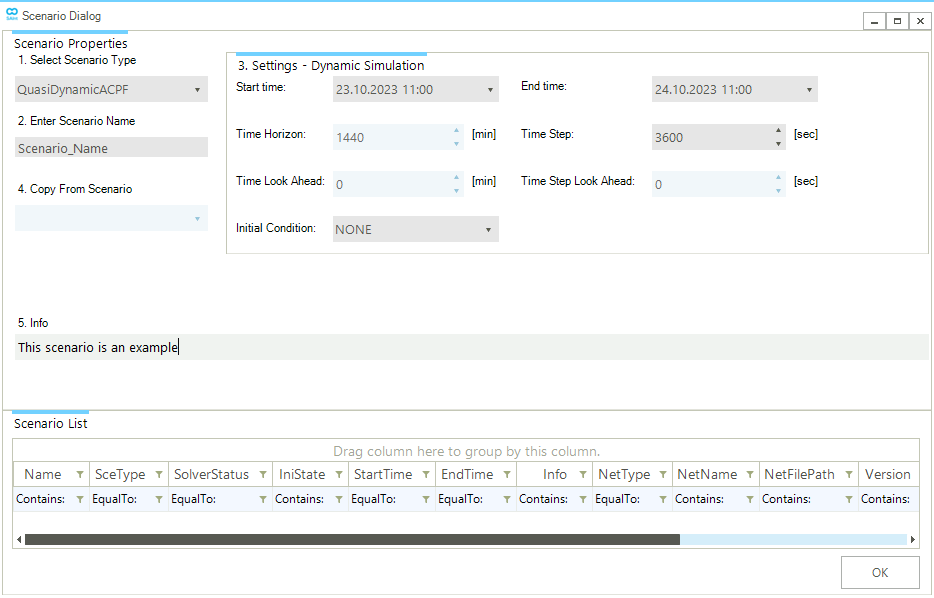
Scenario types have default settings that can be modified. In this example, quasi-dynamic ACPF are 1 day long with a TimeStep of 3600 seconds, and as scenario name "Scenario_Name". Edit the scenario settings according to the case study needs. A comment section is also available to add any relevant information on the scenario as shown in Figure 3. Once completed, press on OK to save the scenario.
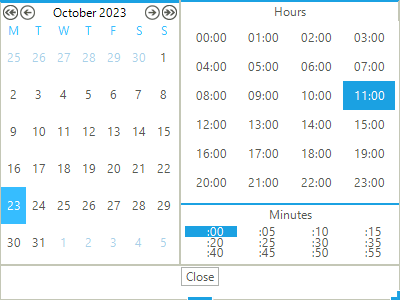
The user can take advantage of the calendar widget to modify the date and time. The widget is accessible by clicking on the black triangle symbol next to the date (Figure 4). Use the single arrow icon to move backward and forward one month. Use the double arrow icon to change the year.