State transfer from a DCUCOPF to a QuasiDynamicACPF scenario
Different types of scenarios are used for different purposes; some are used to minimize the production cost of the generation fleet, while others are used to understanding the technical limitations of the network. In SAInt, the Integrated Planner tool can export events and profiles from one scenario type to be used as inputs for another.
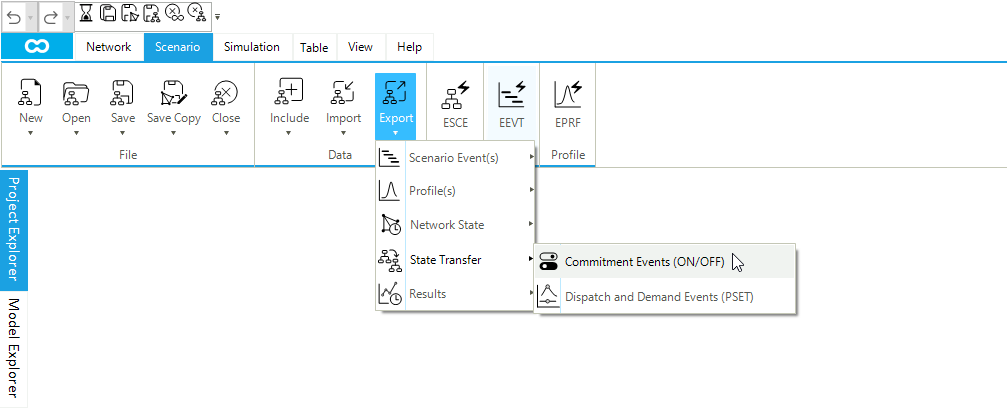
This guide shows how to transfer the commitment of the generation fleet and the dispatch of both generation and demand units from a DCUCOPF scenario to a ACPF scenario. In order to evaluate the technical limitations of the network (such as current line loading and network congestion levels).
|
1. Export the events and profiles from a DCUCOPF scenario
Once the DCUCOPF scenario is solved. The commitment and dispatch events, along with their profiles, can be exported. Select the button to open the "Integrated Planner" form. Fill in the details with the following (see Figure 1):
- NEW SCENARIO
-
In this section, select the type of scenario to create (i.e., a
QuasiDynamicACPF), give a name (e.g., "Test_qdyACPF"), and define the new scenario start and end time (the default is to use start and end time of the solve active scenario). - SCENARIO EVENT CONFIGURATIONS
-
Make sure to have two sub-sections named "Transfer Configuration 1" and "Transfer Configuration 2", both of type "Transfer Config". You can use the button + Add Transfer Config to add such configurations.
In "Transfer Configuration 1", specify as "STATE TYPE" the option "Active Dispatch And Demand". Keep checked the option "Sync", so that the exported events are matching the new scenario start and end time. Check the boxes "All" and "Only Show Object Types for Current Network". If you want, you can remove some of the objects from the transfer operation or just leave all available object types. Finally, make sure to have the correct properties mapping (i.e., "From Property"
Pto "To Property"PSET).In "Transfer Configuration 2", specify as "STATE TYPE" the option "Unit Commitment". Keep checked the option "Sync". Check the boxes "All" and "Only Show Object Types for Current Network", and keep all object types selected (i.e., ESTR, FGEN, and PHSTR).
- FILE CONFIGURATIONS
-
Specify the "Save Location" for your scenario and export files. Make sure to have "Create Scenario file (*.esce)" checked, and — optionally — select the option "Create Import Files" and choose the format for the events and profiles.
Once ready, just click the button Execute to carry out the export of the data to a new quasi-dynamic ACPF scenario.
2. Transfer to a QuasiDynamicACPF scenario
|
Before creating a QuasiDynamicACPF scenario, ensure all relevant network and object parameters and properties have been included in the model to ensure the simulations correctly represent the network’s behavior and limitations. |
When a state transfer operation is successful, SAInt generates a log file and the requested scenario and/or events, and profiles import files.
If the scenario file was generated, it is necessary to copy it in the same folder where the active network of your project is. In this way, the new scenario is available in the "Project Explorer" or in the "Scenario Dialog" window from .
If the import files were generated, it is necessary to create and empty new scenario of the correct type and import first the profiles import file and then the events import file in the new scenario.
Once the new scenario is ready, it can be solved.